
To make certain your roof box fits properly and doesn’t interfere with your hatch, measure your vehicle’s roof area and compare it with the roof box dimensions. Check that the hatch can fully open without hitting the box, and verify your roof rack’s weight capacity. Secure the box tightly and test the hatch clearance again before traveling. If you keep these tips in mind, you’ll avoid damage or access issues—learn more tips to perfect your setup below.
Key Takeaways
- Measure both the roof box and vehicle hatch clearance to ensure full opening without obstruction.
- Confirm the roof box fits securely on the rack without overhanging, allowing hatch movement.
- Test opening the hatch fully with the roof box installed to check for scraping or resistance.
- Verify the roof box height and dimensions do not interfere with garage doors or low ceilings.
- Ensure mounting hardware is properly installed and the roof box is level for safe hatch operation.

Dicunoy 2 PCS 4/09 Shingle Gauge, Roof Measuring Tool, Engineering Pitch Gauge With Carabiner for Measures and Analyze The Thickness
Package: 2 pc shingle gauges. Size: 5.9" L x 1.3" W. Scale on the shingle gauge: 3-Tab Fiberglass,…
As an affiliate, we earn on qualifying purchases.
As an affiliate, we earn on qualifying purchases.
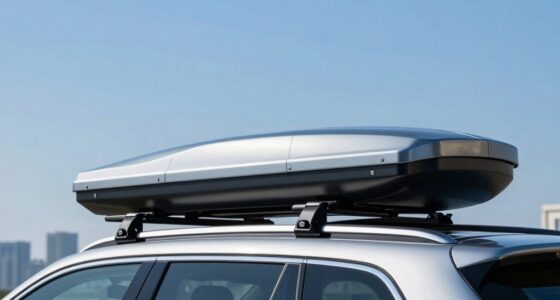
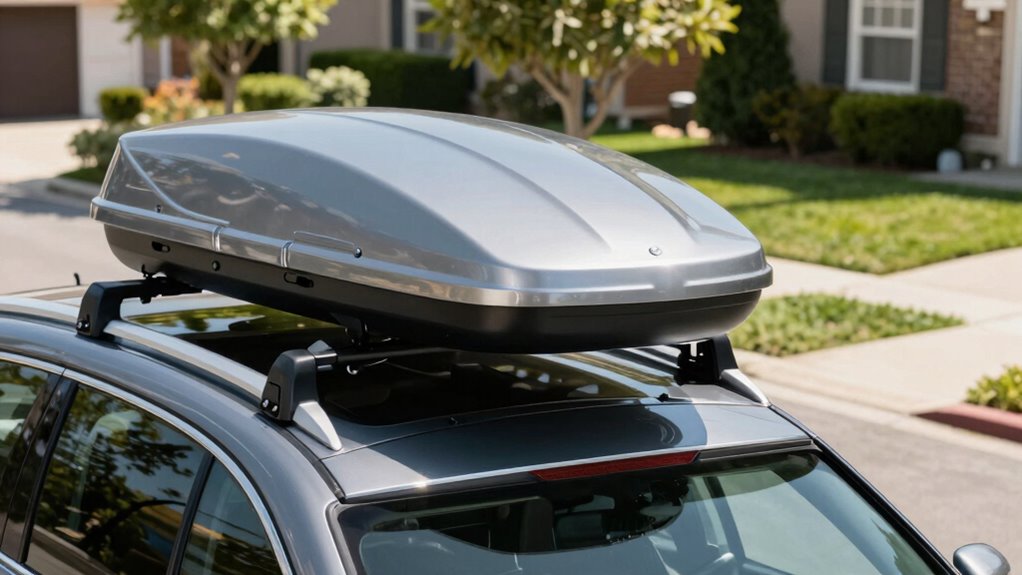
How to Measure Your Vehicle and Roof Box for a Perfect Fit
To guarantee your roof box fits securely and functions properly, start by measuring your vehicle’s roof. Use a tape measure to determine the width and length of the roof rack area. Pay attention to the roof rack materials, as some may have different compatibility or weight capacities. When selecting a roof box, check its dimensions carefully—make sure it aligns with your measurements and leaves enough space for the hatch to open fully. Consider roof box accessories like mounting brackets or locks, which might affect the overall fit. Avoid choosing a box that’s too large or small; it should sit flush on your roof rack without overhanging. Proper calibration of your measurements can ensure a more precise fit and prevent issues during installation. Additionally, understanding the fundamentals of roof rack compatibility can help you make smarter decisions and avoid potential damage. Images or videos can also help you better understand the compatibility and fitting process. Precise measurements ensure a secure fit and prevent damage or inconvenience during your trip.

Wonderdriver Heavy Duty 300lbs Lockable Roof Rack Cross Bars Compatible with Jeep Grand Cherokee 2011-2021 (with Grooved Side Rails), All-Metal Aluminum Crossbars Rooftop Cargo Bag Kayak Luggage
【Compatibility】Compatible with Jeep Grand Cherokee 2011-2021 (with grooved side rails),including Limited, Laredo, Overland, Upland, Trailhawk, Summit, North Edition,Freedom…
As an affiliate, we earn on qualifying purchases.
As an affiliate, we earn on qualifying purchases.
Check Roof Rack Compatibility and Weight Limits Before Installing
Before installing a roof box, it’s essential to verify that your roof rack is compatible and can handle the added weight. Check the roof rack compatibility with your vehicle’s make and model to guarantee it fits securely and safely. Review the manufacturer’s guidelines for weight limit considerations to prevent overloading, which can compromise safety and damage your vehicle. Remember, the combined weight of the roof box and its contents must stay within your roof rack’s maximum capacity. Use a scale to weigh your items if necessary. If your roof rack isn’t rated for the load, consider upgrading to a stronger system. Prioritizing compatibility and weight limits helps confirm a secure, safe fit that won’t interfere with your vehicle’s operation. Additionally, understanding the overall whole-home water system setup can help prevent potential issues like leaks or pressure imbalances that could affect your vehicle’s roof rack stability. Being aware of vehicle weight distribution can also contribute to safer and more balanced load management. Ensuring proper power protection for your vehicle accessories can also help prevent electrical issues that might interfere with roof rack components. Moreover, considering safety gear such as rear radar lights can enhance overall safety during transport.

RYANSTAR RACING 4 PCS Roof Box U-Bolt Clamps Rooftop car Van mounting Accessories U-Bracket mounting Accessories, 85mm Internal Width, with 8 Lock Nuts, 2 Strap Kit for Most Cars
【PACKAGE INCLUDED】 Roof box rack mounting fitting U-Bolt clamp kits included 4pcs galvanized U bolts, 4pcs plastic backplane,…
As an affiliate, we earn on qualifying purchases.
As an affiliate, we earn on qualifying purchases.
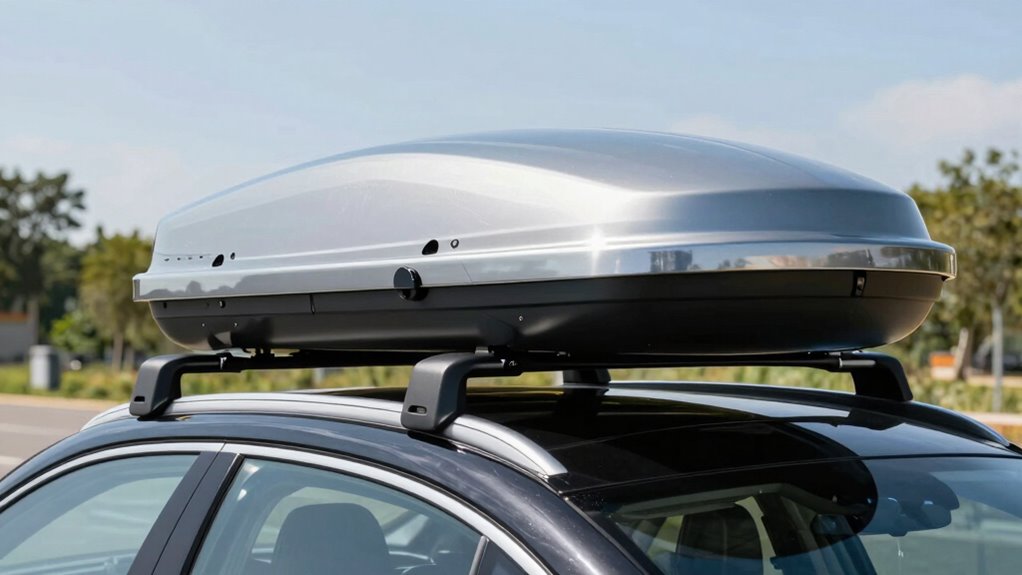
Ensure Proper Clearance for Your Hatch and Roof Box
Make certain to measure your hatch clearance to guarantee enough space for the roof box. Check the height of the roof box itself so it won’t interfere with garage doors or low ceilings. Finally, test the hatch opening range with the box installed to confirm everything opens smoothly without obstruction. Considering future transportation trends, planning for adaptable accessories like roof boxes can help accommodate evolving vehicle designs. Incorporating smart vehicle accessories can enhance safety and convenience as vehicle technology advances. Proper cabling solutions and secure mounting are also essential to prevent issues during installation and use. Additionally, using essential DIY tools such as levels and measuring tapes can ensure precise fitting and safe installation. Remember to account for vehicle dimensions and potential changes in your vehicle’s interior space to maintain optimal functionality.
Measure Hatch Clearance
Ensuring your hatch has enough clearance is essential before installing a roof box, as inadequate space can lead to damage or difficulty opening. To do this effectively, measure the gap between your hatch and the roof box placement area. Visualize:
- The height difference, considering roof box aerodynamics, which can influence how much space you need.
- The proximity of the hatch to nearby roof accessories, ensuring nothing obstructs opening.
- The visibility of the hatch handle, so it remains accessible and easy to operate, regardless of roof box color options.
- The latest trends in wall art, which can influence the aesthetic choices for your vehicle’s exterior accessories, ensuring your roof setup matches your overall style.
- Additionally, understanding the capacity and watt-hour ratings of your battery inverter generator can help ensure your vehicle’s electrical system supports the additional load from the roof box and accessories.
- Consider firewood storage options to keep your gear organized and accessible during travel, which can also impact how much space is available around your hatch area.
Check Roof Box Height
Checking the height of your roof box is a crucial step to make sure it clears your hatch comfortably. You need to compare the roof height of the box with your vehicle’s overall dimensions, including the hatch clearance. Measure the roof box from its base to the top, ensuring you account for any additional accessories or attachments. Then, compare this measurement to your vehicle’s height, especially at the hatch area, to avoid any surprises when opening. If the roof height exceeds your vehicle’s dimensions, you risk difficulty opening or damaging your hatch. Ensuring proper clearance means your roof box fits well without interfering with the hatch’s movement, keeping your vehicle safe and functional during travel. Additionally, urban traffic confidence can help you plan your routes to avoid tight spaces that could impact your roof box clearance. Being aware of your vehicle’s overall dimensions is essential for safe and efficient packing. Knowing the best roof box options that suit your vehicle can further prevent potential issues and improve your overall backyard transformation experience. To make accurate measurements, using a vehicle height chart can be very helpful in understanding your vehicle’s specific clearance limits.
Test Hatch Opening Range
After confirming your roof box’s height fits comfortably, it’s time to test how well the hatch can open with the box in place. Imagine lifting the hatch and observing the clearance—this guarantees the roof box’s aesthetics blend seamlessly without obstructing movement. To do this effectively:
- Open your hatch fully, noting the maximum range of motion.
- Check if the roof box’s material durability allows smooth opening without scraping or resistance.
- Confirm the hatch clears the roof box without forcing, preventing damage to both the box and vehicle.

WATERWICH Triple Gauge Kit 2inch 52mm Water Temperature Gauge + Oil Pressure Gauge + Voltmeter 3 in 1 Car Marine Meter Auto Gauge for Car Truck Vehicle Motorcycle Tractor
1.Easily display at night:Our instrument is highly visible with a Light,easy viewing at all angles during any lighting…
As an affiliate, we earn on qualifying purchases.
As an affiliate, we earn on qualifying purchases.
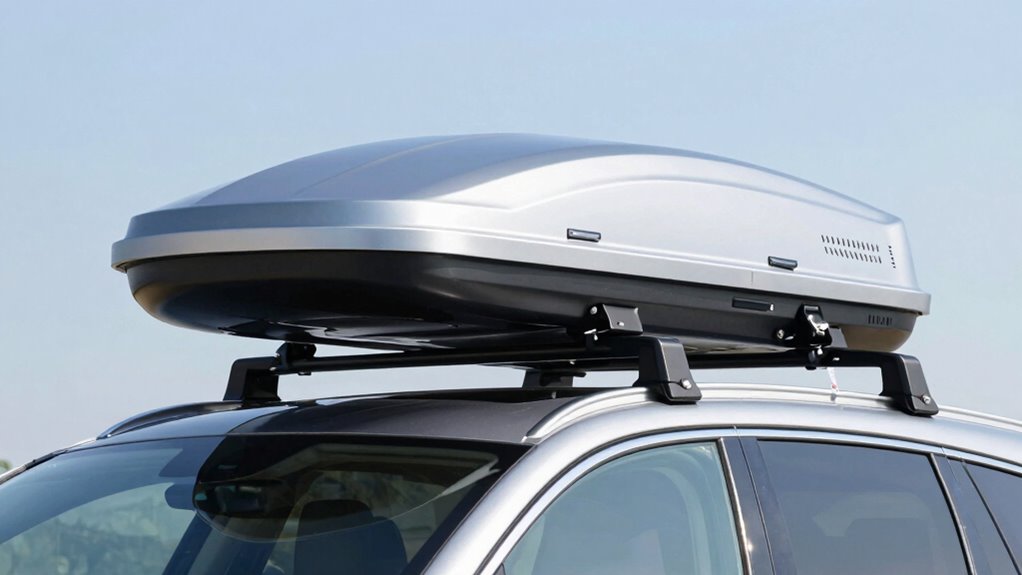
Step-by-Step Guide to Installing Your Roof Box Correctly
To install your roof box correctly, start by preparing both the roof and the box itself to guarantee a secure fit. Next, carefully secure the mounting points, making sure everything is tight and properly aligned. It’s also helpful to consult your vehicle’s roof rack specifications to ensure compatibility and safety. Additionally, implementing AI Agent Governance can help monitor and manage your installation process, ensuring adherence to safety protocols. When securing the roof box, consider the best makeup products for women over 50 to ensure the finish remains flawless even after handling the equipment. It’s important to also be aware of somatic therapy techniques to reduce stress and maintain focus during the setup process. Finally, test the hatch clearance to confirm the box doesn’t interfere with opening or closing. Ensuring proper weight distribution can also help maintain overall stability during transit roof box safety.
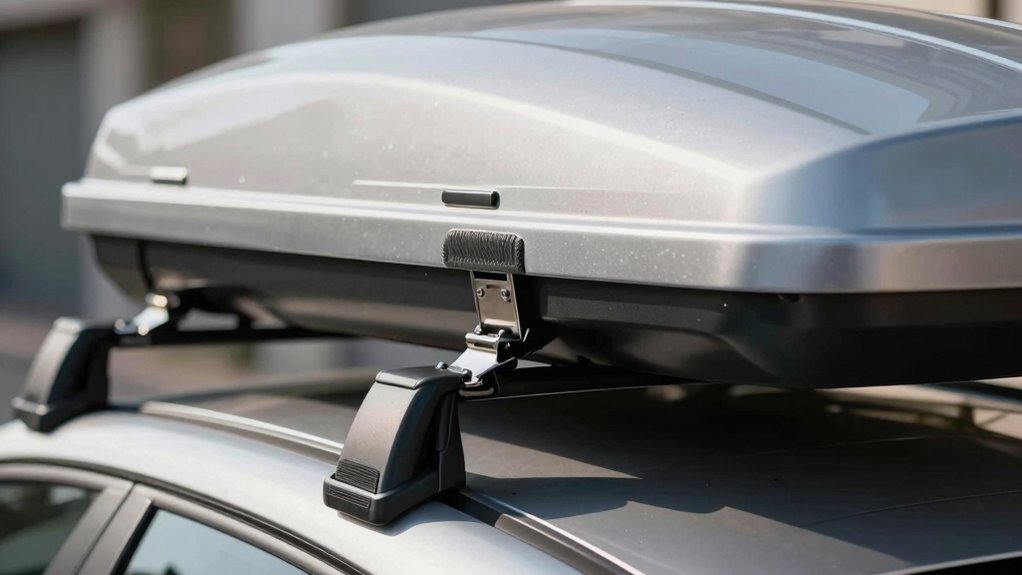
Prepare Roof and Box
Have you already chosen the right roof box for your vehicle and needs? Now, it’s time to prepare both the roof and the box. First, inspect your roof rack for any damage or loose parts, practicing good roof rack maintenance. Next, clean the roof surface and the bottom of the box to remove dirt and debris, ensuring a secure fit. Finally, apply weatherproofing tips like sealing gaps or adding protective strips to prevent water infiltration. Visualize these steps: 1. Wiping down the roof and box with a clean cloth, 2. Checking the integrity of the rack’s mounting points, 3. Applying weatherproofing measures for a tight seal. Proper preparation guarantees a smoother installation and keeps your gear safe, dry, and secure during your trip.
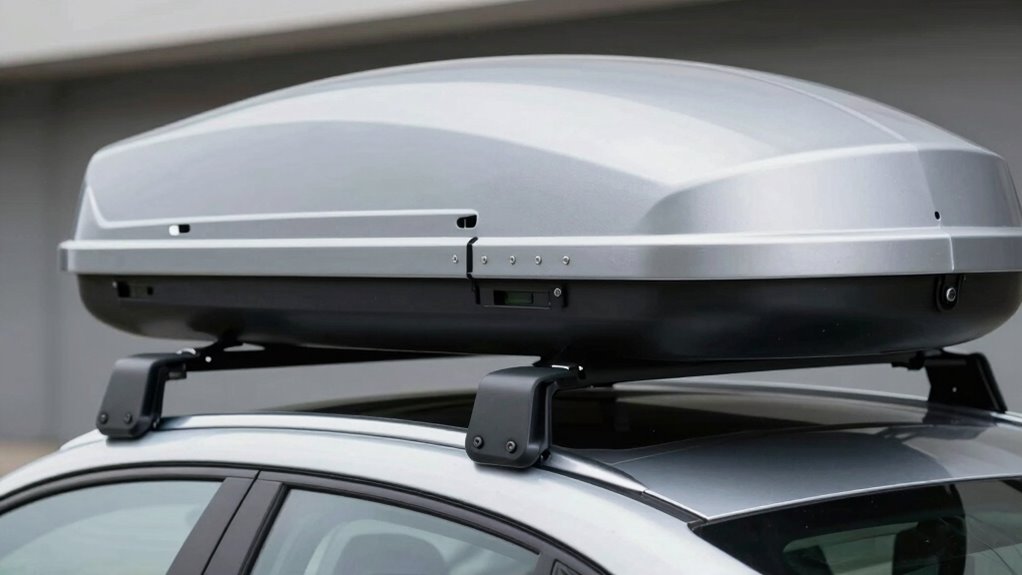
Secure Mounting Points
Ensuring your roof box is securely mounted starts with carefully inspecting the mounting points on your roof rack. Check that each mounting point is intact, free of debris, and properly aligned. Your roof rack should have designated mounting points designed for compatibility with your roof box. Use the correct hardware, such as bolts or clamps, specified by the manufacturer, and ensure they’re tightly secured. Avoid overtightening, which could damage the rack or the box. Verify that the mounting points are evenly engaged and that the roof box sits level. Properly securing these points prevents shifting during travel and maintains safety. Always double-check your mounting points before hitting the road to ensure your roof box stays firmly in place throughout your journey.
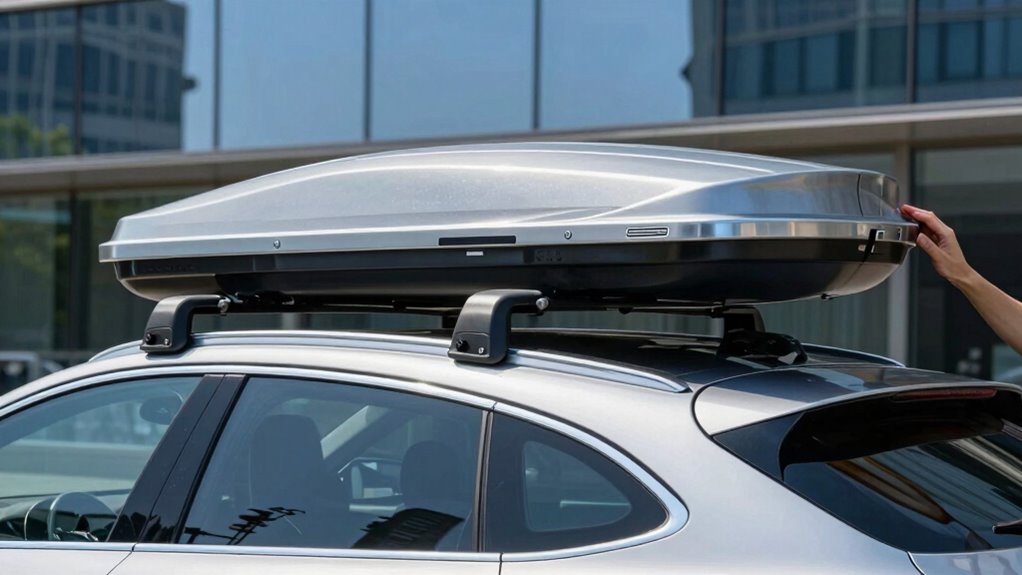
Test Hatch Clearance
Before securing your roof box, it’s essential to test hatch clearance to guarantee the box won’t interfere with your vehicle’s opening. This step helps you avoid damage and assures a cohesive look, considering roof box aesthetics and vehicle color coordination. To test, open the hatch slowly and observe the space between the hatch and the roof box.
- Check if the hatch fully opens without hitting the roof box’s sides or lid.
- Confirm that there’s enough clearance to lift the hatch without forcing it.
- Ensure the roof box remains aligned and doesn’t look out of place with your vehicle’s color and style.
Performing this step guarantees smooth access, maintains your vehicle’s aesthetics, and ensures your roof box fits seamlessly without sacrificing function or style.
How to Tell If Your Roof Box Isn’t Fitting Right

If your roof box isn’t fitting properly, you’ll likely notice it during installation or when driving. One sign is poor roof box aesthetics; if it looks bulky or misaligned, it might not be secured correctly. Check if the color matching between the roof box and your vehicle is off—sometimes mismatched colors can hint at improper fitment or incompatible models. Also, if the roof box shifts or wobbles while driving, it’s a clear sign it’s not sitting securely. Pay attention to whether the hatch still opens fully without obstruction or strain. A poorly fitting roof box can cause damage or unsafe driving conditions, so trust your initial impressions during setup and inspection. Proper fit guarantees safety, aesthetics, and ease of use.
Troubleshooting Common Roof Box Fit Problems
When your roof box doesn’t fit as it should, troubleshooting the issue promptly can save you time and prevent potential damage. Start by checking the roof box styles to verify compatibility with your vehicle’s roof rails or crossbars. Next, verify that the mounting hardware is correctly aligned and securely fastened, avoiding any gaps or misalignments. finally, consider aesthetic considerations—if your roof box clashes with your vehicle’s look or protrudes oddly, it might be a sign of improper sizing or mounting.
- Confirm that the roof box style matches your vehicle’s roof setup.
- Ensure the mounting points are properly aligned and tightened.
- Evaluate aesthetic considerations to prevent awkward fits or damage.
Addressing these issues helps verify a proper fit, keeping your roof box secure and functional.
Safe Loading and Securing Tips for Your Roof Box
Ensuring your roof box is loaded and secured properly is essential for safe travel. Start by evenly distributing your load, considering different roof box styles to maximize space and balance. Use high-quality straps and locks, tightening them firmly to prevent shifting. Remember, a well-secured roof box reduces noise and improves safety. Regularly check for debris or dirt, as roof box cleaning maintains integrity and prevents damage. Here’s a quick guide:
| Tip | Details |
|---|---|
| Distribute weight | Keep heavy items low and centered |
| Use proper straps | Avoid over-tightening or under-tightening |
| Balance load | Prevent uneven weight distribution |
| Check locks | Ensure all are securely fastened |
| Maintain cleanliness | Clean roof box regularly to prevent damage |
Following these tips keeps your roof box secure and your journey smooth.
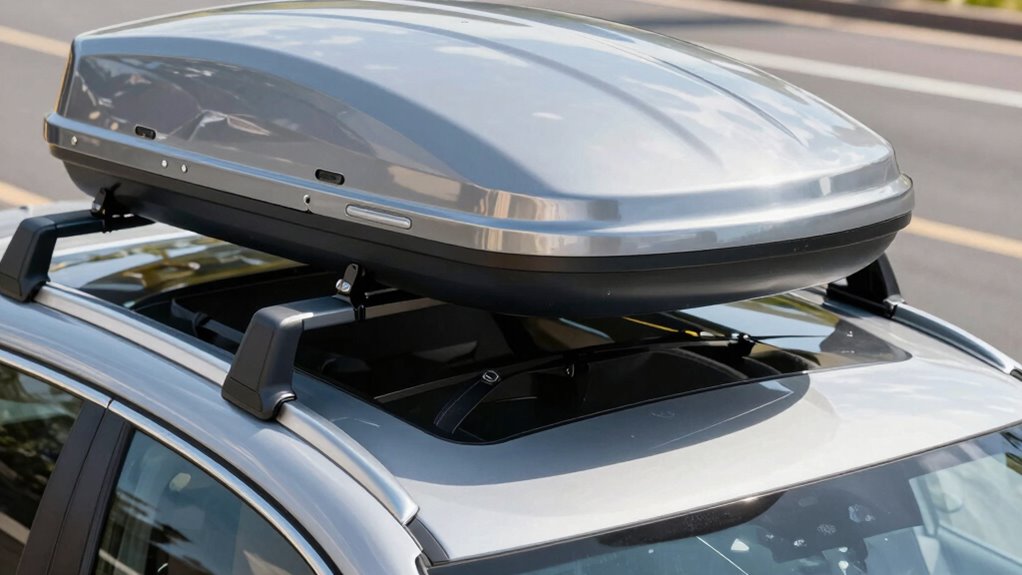
Final Checks Before Hitting the Road With Your Roof Box

Before hitting the road, take a few moments to perform final checks on your roof box to guarantee everything is secure and ready for travel. First, confirm the roof box is firmly latched, ensuring it won’t shift during transit. Next, check the roof box’s aerodynamics—make sure it’s properly aligned to minimize wind resistance and noise. Finally, verify the hatch still opens fully without obstruction, especially if you chose a roof box with specific color options that might affect visibility or reflectivity. Visualize the sleek, aerodynamic shape gliding smoothly through the air, reducing drag and noise. Ensuring these details are correct helps protect your gear and keeps your drive quiet and fuel-efficient. A quick check guarantees your roof box is ready for a safe, pleasant journey.
Frequently Asked Questions
Can I Open My Hatch Fully With a Roof Box Installed?
Yes, you can open your hatch fully with a roof box installed if you check the roof box capacity and follow proper installation tips. Make certain the roof box isn’t too tall or bulky, which might restrict hatch movement. Measure the clearance beforehand, and secure the box correctly to prevent shifting. By paying attention to these details, you’ll maintain easy access to your hatch while enjoying the extra storage space.
Will a Roof Box Affect My Vehicle’s Aerodynamics?
A roof box can impact your vehicle’s aerodynamics, increasing vehicle drag. When you install a roof box, it alters the airflow over your car, creating more resistance. This can lead to reduced fuel efficiency and slightly increased wind noise. To minimize these effects, choose a streamlined roof box and make sure it’s properly secured. Being aware of these factors helps you maintain better vehicle performance and fuel economy while enjoying extra storage.
How Does Weather Affect Roof Box Security?
Weather considerations greatly impact your roof box’s security. Strong winds, heavy rain, or snow can loosen straps or cause shifting if not secured properly. Always double-check the security features, like locking mechanisms and tie-downs, before hitting the road. Regularly inspect your roof box during long trips, especially after severe weather. Properly securing your roof box ensures it stays safe, no matter the weather conditions you encounter.
Are There Specific Roof Box Brands Recommended for Hatchback Vehicles?
Some roof box brands, like Thule and Yakima, are highly recommended for hatchback vehicles because they prioritize roof box compatibility and hatchback clearance. These brands design their racks to guarantee your hatch still opens easily without interference. When choosing, check the specifications for hatchback clearance and compatibility with your vehicle’s make and model. Proper installation guarantees safety and convenience, making your trips more enjoyable.
Is It Legal to Drive With an Overhanging Roof Box?
Driving with an overhanging roof box is generally legal if it doesn’t violate local regulations, but you must guarantee proper roof box installation. An interesting fact is that improper vehicle weight distribution can reduce fuel efficiency by up to 10%. When installing, consider how the roof box affects your vehicle’s balance and clearance. As long as it’s securely attached and doesn’t obstruct your hatch, you should be good to go.
Conclusion
Before hitting the road, double-check that your roof box fits properly and your hatch still opens smoothly. Did you know that improper fitting can reduce fuel efficiency by up to 25%? Taking the time to measure, verify compatibility, and secure your box guarantees safety and convenience. When everything’s correctly installed, you’ll enjoy hassle-free trips and peace of mind, knowing your gear is safe and your vehicle’s hatch functions flawlessly. Safe travels!