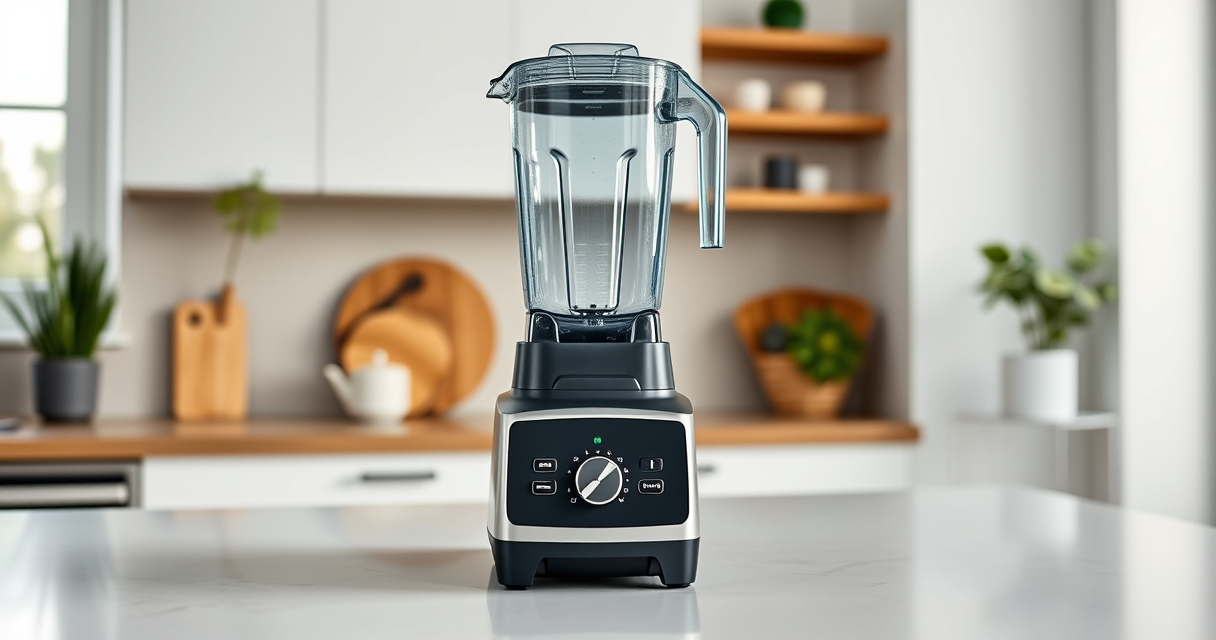

Proper cleaning of your Vitamix A3500 is essential to maintain its performance and extend its lifespan. Regular cleaning prevents buildup of food residues, mold, and bacteria, ensuring your smoothies and blends stay fresh and safe to consume.
This guide provides practical, step-by-step instructions to clean your Vitamix A3500 safely, including tips for cleaning the blades, container, and lid components.
Gather Your Supplies
- Warm water
- Dish soap
- Soft sponge or cloth
- Vitamix cleaning brush (optional)
- Vitamix Wet Blade Assembly (asin=B0028Y4CT6) for blade replacement or cleaning
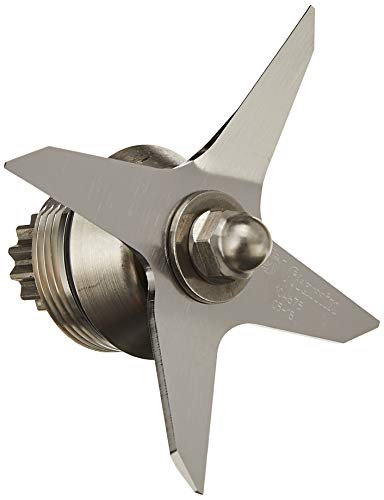
Vitamix Wet Blade Assembly, Silver
The Wet Blade Assembly is designed to be used with the 64-, 48-, and 32-ounce Standard Containers.
As an affiliate, we earn on qualifying purchases.
Clean the Container
- Fill the container halfway with warm water.
- Add a few drops of dish soap.
- Secure the lid and run the blender on high for 30-60 seconds.
- Pour out the soapy water and rinse thoroughly with clean water.
Clean the Blade Assembly
To ensure thorough cleaning, remove the blade assembly for inspection and cleaning. If cleaning in-place, fill the container with warm water and a small amount of dish soap, then run the blender briefly.
If the blades are stubborn or have residue buildup, consider replacing the blade assembly with a compatible unit like the Vitamix Wet Blade Assembly (asin=B0028Y4CT6), which is designed for old-style containers and handles heavy-duty tasks.
Clean the Lid and Gasket
- Remove the lid and gasket.
- Wash with warm soapy water using a sponge or brush.
- Rinse thoroughly and dry completely before reassembling.
Dry and Reassemble
Use a clean towel to dry all parts thoroughly, including the blade, container, lid, and gasket. Reassemble the blender carefully, ensuring all parts are secured tightly.
Products That Help

Vitamix Wet Blade Assembly
- ✔ Weight: Approx. 1 lb
- ✔ Color: Silver
- ✔ Warranty: Varies by seller
Vitamix Wet Blade Assembly
The Vitamix Wet Blade Assembly is a durable, stainless-steel replacement designed for older containers. It handles tough ingredients and ensures your blender operates smoothly and quietly. Ideal if your current blade is dull or damaged.
Pros:
Cons:
Best for: Old-style Vitamix containers needing blade replacement
Not ideal for: For newer Vitamix models or low-profile containers
Bottom line: A durable, reliable blade assembly for older Vitamix containers.
Frequently Asked Questions
Can I put my Vitamix container in the dishwasher?
Yes, most Vitamix containers are dishwasher safe, but it’s recommended to wash the lid and gasket by hand to preserve their integrity.
How often should I clean my Vitamix?
It’s best to clean your Vitamix after each use to prevent residue buildup. Deep cleaning with soap and water should be done weekly or as needed.
What should I do if my blades are not spinning properly?
Check for food debris or buildup around the blades. If cleaning doesn’t resolve the issue, consider replacing the blade assembly with a compatible replacement like the Wet Blade Assembly.
Is it safe to clean the motor base with water?
No, avoid immersing or spraying water directly on the motor base. Wipe it with a damp cloth and dry immediately.
Affiliate disclosure: As an Amazon Associate we earn from qualifying purchases. Prices and availability are accurate as of the time of publishing.