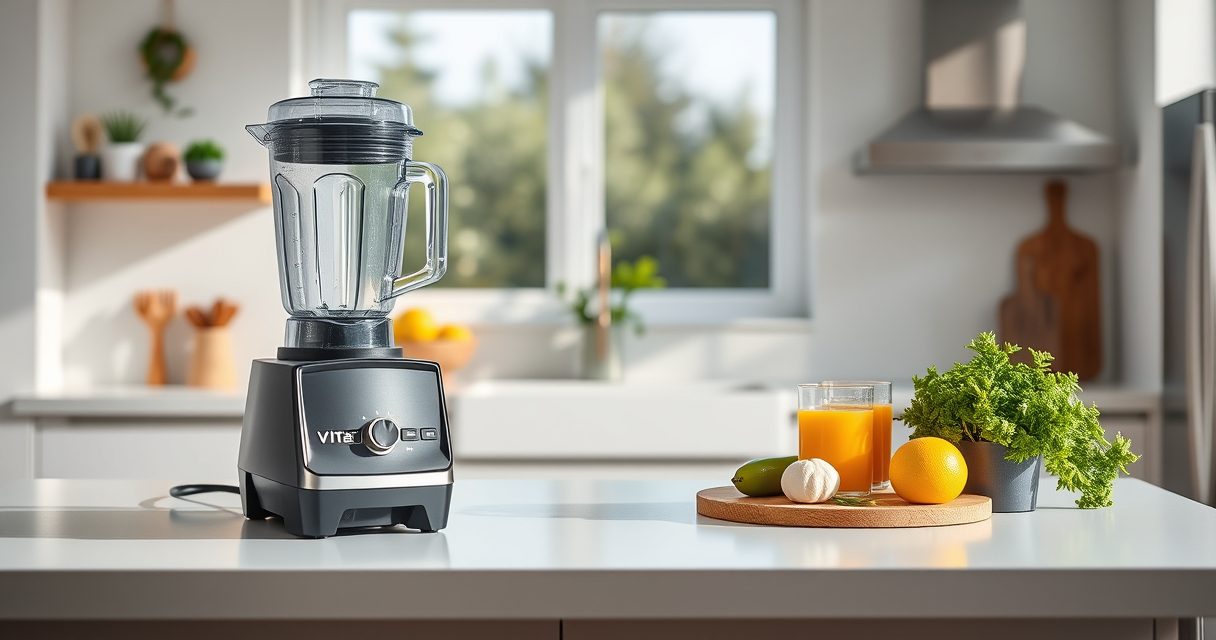

Owning a Vitamix Ascent X3 Blender offers powerful blending capabilities, but like all appliances, it requires proper care and occasional troubleshooting to stay in peak condition. This guide provides step-by-step instructions to diagnose common issues, perform routine maintenance, and keep your blender running smoothly for years to come.

Get home appliances delivered free with Prime
- Fast, free delivery on millions of items
- Prime Video, Amazon Music and more included
- Member-only deals all year
Whether you’re experiencing performance hiccups or just want to extend your blender’s lifespan, these practical tips will help you address most problems safely and effectively.
Key Takeaways
| Regular Cleaning | Keep blades and containers clean to prevent buildup and ensure smooth operation. |
| Troubleshoot Power Issues | Check power connections and control panel for faults before assuming device failure. |
| Blade Maintenance | Inspect blades regularly and replace if dull or damaged for optimal blending. |
| Container Care | Ensure containers are properly seated and free of cracks for safe use. |
| Prevent Overheating | Avoid running the blender continuously for long periods to prevent overheating. |
Initial Troubleshooting Steps
- Check the Power Connection: Ensure the blender’s motor base is properly plugged into a functioning outlet. Test the outlet with another device if unsure.
- Inspect the Control Panel: Make sure the touch buttons are responding; dirt or moisture can cause unresponsiveness.
- Verify the Lid and Container Placement: Proper sealing is essential. Ensure the lid is securely in place and the container is correctly seated on the motor base.
- Reset the Blender: Unplug the unit for 60 seconds, then plug it back in to reset electronic controls.
Cleaning and Routine Maintenance
- Self-Cleaning Program: Add warm water and a drop of dish soap, then run the Self-Cleaning Program for 60 seconds to keep blades and container spotless.
- Manual Cleaning: After blending, wash the container with warm soapy water and a non-abrasive sponge. Check and clean the lid and tamper.
- Blade Inspection: Periodically examine the blades for dullness or damage. Dull blades impair blending quality.
- Container Care: Avoid sudden temperature changes that may crack the container. Store the blender in a dry place.
Addressing Common Performance Issues
- Blender Not Starting: Confirm power connection, reset the unit, and check for blown circuit breakers.
- Uneven Blending or Stuck Ingredients: Use the tamper to push ingredients toward the blades or check blade sharpness.
- Strange Noises or Vibrations: Inspect blades for damage or looseness. Replace if necessary.
- Overheating: Allow the blender to cool down before resuming use. Avoid continuous operation beyond recommended durations.
Replacing the Wet Blade Assembly
If your blades are dull or damaged, replacing the Wet Blade Assembly can restore performance. Make sure to purchase the correct assembly designed for your model.
- Unplug the Blender: Safety first, always disconnect power before maintenance.
- Remove the Container: Twist and lift the container from the motor base.
- Detach the Old Blade Assembly: Unscrew the existing blades, following the manufacturer’s instructions.
- Install the New Assembly: Attach the new wet blade assembly securely, ensuring it is tightly fastened.
- Reassemble and Test: Reattach the container, plug in the unit, and run a short blend cycle to confirm proper installation.
Preventative Tips for Longevity
- Avoid Overloading: Blend smaller batches if your container is not full to prevent strain on the motor.
- Use Proper Ingredients: Hardened ingredients like ice or frozen fruit should be processed with appropriate programs or tamper use.
- Store Properly: Keep the blender in a dry, cool place and avoid exposure to moisture.
- Regular Inspections: Check blades, seals, and containers periodically for wear and tear.
The Products in This Guide

Vitamix Ascent X3 Blender
- ✔ Container Type: Standard
- ✔ Tamper: S2 low-profile tamper
- ✔ Warranty: Manufacturer’s warranty included

Vitamix Wet Blade Assembly
- ✔ Compatibility: 48/32/64 oz containers
- ✔ Material: Stainless steel
- ✔ Installation: Easy replacement
Vitamix Ascent X3 Blender
The Vitamix Ascent X3 Blender is designed for durability and high performance, featuring self-cleaning functions and variable speed control. Proper maintenance ensures it remains a kitchen essential for smoothies, soups, and more.
Pros:
- Powerful stainless-steel blades
- Self-cleaning program
- Multiple blending modes
- Compact, modern design
Cons:
- Can be noisy during operation
- Requires regular blade inspection
- Container scratches over time
Best for: Daily smoothie making, hot soups, frozen desserts
Not ideal for: Heavy-duty commercial use or very large batches
Bottom line: A versatile, durable blender ideal for everyday kitchen tasks when properly maintained.
Vitamix Wet Blade Assembly
The Vitamix Wet Blade Assembly is a direct replacement for older models, ensuring your blender maintains peak performance. Its hardened stainless-steel blades never require sharpening.
Pros:
- Durable stainless-steel blades
- Long-lasting bearings
- Easy to install
- Quiet operation
Cons:
- Designed for older containers
- Not compatible with newer models
- Limited to specific container sizes
Best for: Replacing damaged or dull blades on compatible containers
Not ideal for: Use with newer Vitamix containers or commercial models
Bottom line: A reliable upgrade to keep your older Vitamix containers performing at their best.
Frequently Asked Questions
How often should I clean my Vitamix?
It’s recommended to run the Self-Cleaning Program after every few uses or at least weekly, depending on usage. Regular manual cleaning of the container and lid also helps maintain performance.
Why is my Vitamix making noise?
Unusual noise can be caused by loose blades, debris caught in the blades, or worn bearings. Inspect and replace the blade assembly if necessary.
Can I replace the blades myself?
Yes, if you have the correct replacement part and follow safety procedures. Refer to the manufacturer’s instructions to remove the old blades and install the new Wet Blade Assembly.
What should I do if my blender won’t start?
First, check the power outlet and cord. Reset the blender by unplugging it for 60 seconds. Also, ensure the lid and container are properly seated, as some models won’t operate otherwise.
Is the container dishwasher safe?
Most Vitamix containers are dishwasher safe, but it’s best to consult your specific model’s care instructions. Hand washing with warm soapy water prolongs container life.
Maintaining Your Vitamix for Peak Performance
Proper troubleshooting and routine maintenance are key to extending the life of your Vitamix Ascent X3 Blender. Regular cleaning, timely blade replacements, and cautious operation will ensure consistent results and prevent costly repairs.
By following the steps outlined in this guide, you can enjoy many years of reliable blending, whether you’re making smoothies, soups, or frozen desserts. Invest a little time in care today to keep your Vitamix performing at its best tomorrow.
Affiliate disclosure: As an Amazon Associate we earn from qualifying purchases. Prices and availability are accurate as of the time of publishing.
Cold & flu season Picks
humidifiers
As an affiliate, we earn on qualifying purchases.