
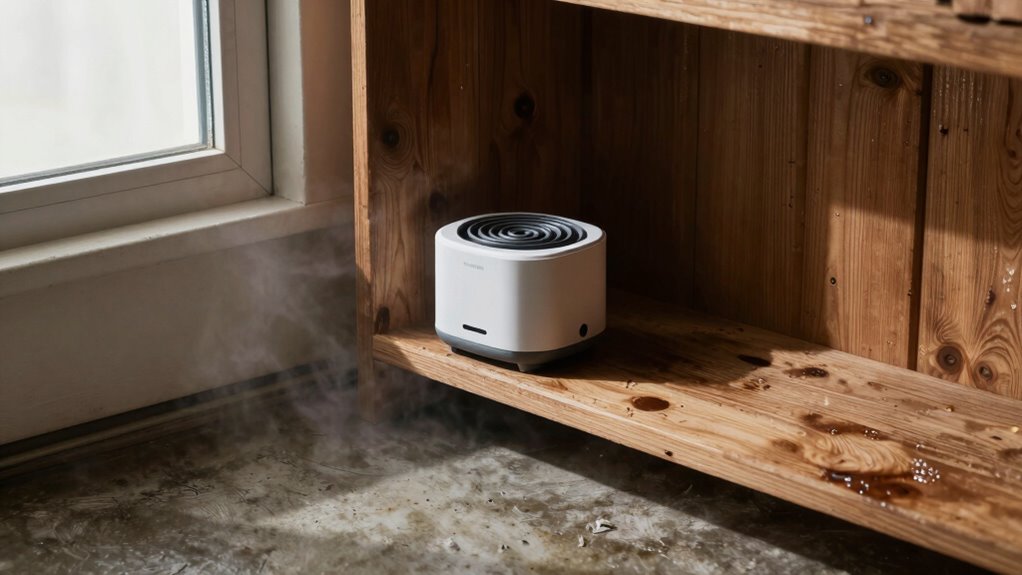
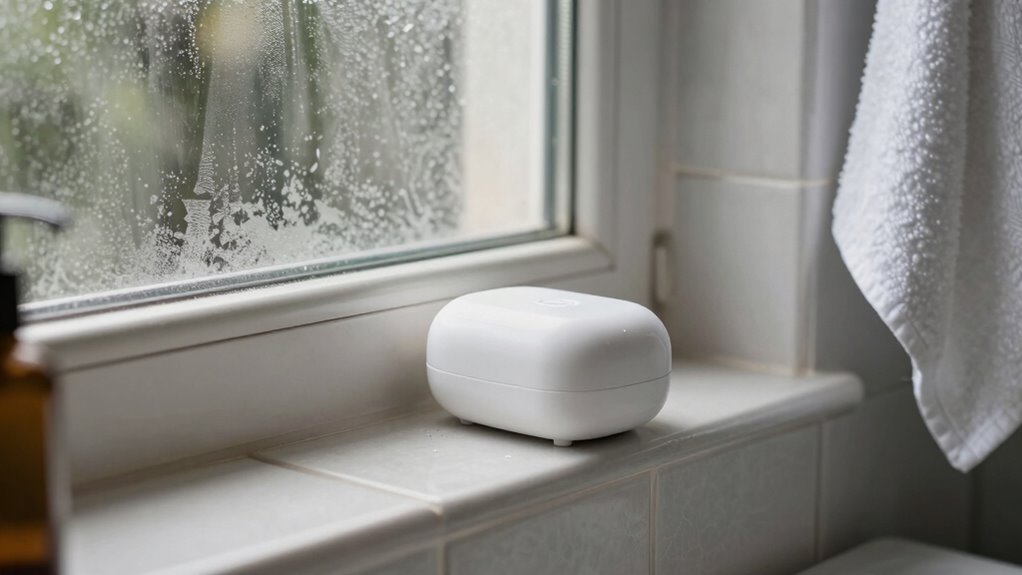
Place moisture absorbers in areas prone to excess humidity, like bathrooms, basements, and kitchens, where mold and odors often develop. Avoid spots with limited airflow, such as behind furniture or against walls, which can reduce their effectiveness. Focus on corners, near damp walls, or around moisture sources like sinks or appliances. Proper placement is key to long-term control—continue exploring tips to optimize their placement and maximize results.
Key Takeaways
- Place moisture absorbers in high-humidity areas like bathrooms, kitchens, and basements for effective moisture control.
- Ensure proper airflow by avoiding placement behind furniture, walls, or in enclosed spaces to maximize absorption.
- Position absorbers near moisture sources such as sinks, pipes, or damp walls to target problem spots directly.
- Use humidity meters to identify areas with elevated moisture levels and place absorbers accordingly.
- Distribute absorbers evenly across spaces to prevent damp spots and promote consistent moisture removal.

Vacplus Moisture Absorbers 6 Pack, Portable Humidity Absorber Boxes for Your Bathroom, Closet & Car, Dehumidifier with Fragrance Free, 10.5 Oz
Efficient Dehumidification: Traps excess moisture quickly. Vacplus moisture absorbers use spherical calcium chloride to enlarge the absorbing area….
As an affiliate, we earn on qualifying purchases.
As an affiliate, we earn on qualifying purchases.
Why Proper Placement of Moisture Absorbers Helps Prevent Mold and Odors
Proper placement of moisture absorbers is essential because it guarantees they effectively target areas prone to excess humidity. When positioned correctly, these absorbers work alongside regular dehumidifier maintenance, helping prevent mold growth and musty odors. To ensure peak performance, you should regularly calibrate your moisture meter, which helps identify high-humidity spots where absorbers are needed most. Proper placement also reduces moisture buildup in problem areas, making your home healthier. Avoid placing absorbers in spots with limited airflow, as this diminishes their effectiveness. By strategically positioning them in damp corners, closets, or near leaks, you maximize their ability to absorb excess moisture. Additionally, understanding cultural home care practices can inform you about traditional home care methods that promote cleanliness and moisture control. Incorporating natural ventilation techniques can further enhance moisture reduction efforts. Using humidity level awareness tools can help you better determine where moisture is most problematic. Regularly inspecting and adjusting the placement of moisture absorbers based on seasonal changes can optimize their performance throughout the year. Combining these practices with routine dehumidifier maintenance and accurate moisture meter calibration, proper placement keeps your home dry and mold-free.

Arm & Hammer Clean Burst Moisture Absorber and Odor Eliminator Tubs, 14 oz., 3 Pack, Attract and Trap Excess Moisture, Eliminate Musty Odors, Convenient and Effective
ATTRACTS AND TRAPS EXCESS MOISTURE: Use Arm & Hammer Moisture Absorber and Odor Eliminator Tubs to attract and…
As an affiliate, we earn on qualifying purchases.
As an affiliate, we earn on qualifying purchases.
How to Find the Most Humid Spots in Your Home
To identify the most humid spots in your home, start by observing areas prone to moisture buildup, such as bathrooms, kitchens, and basements. These spots often have higher humidity levels, making them ideal locations for moisture absorbers. Use a hygrometer to measure humidity; readings above 60% indicate excessive moisture. Check for signs like condensation, mold, or musty odors. Proper dehumidifier maintenance can help reduce overall humidity, but targeted moisture absorbers work best in problem areas. To help you pinpoint these locations, review the table below:
| Area | Signs of High Humidity | Mold Prevention Techniques |
|---|---|---|
| Bathroom | Condensation on mirrors, walls | Ventilation, exhaust fans |
| Basement | Musty smell, damp walls | Insulation, dehumidifiers |
| Kitchen | Steam, water splashes | Proper ventilation, cleaning |
Understanding humidity levels can further enhance your efforts to maintain a dry and healthy home environment. Additionally, monitoring electric bikes’ speed can help ensure safety when riding in areas with high moisture, as wet conditions can affect performance and handling. Recognizing moisture patterns around your home allows for more effective placement of moisture absorbers and preventive measures. Being aware of ventilation effectiveness can also optimize moisture control strategies. Regularly inspecting humidity hotspots helps prevent long-term moisture problems and potential mold growth.

TempPro TP50 Digital Hygrometer Indoor Thermometer Room Thermometer and Humidity Gauge with Temperature Humidity Monitor(Previously ThermoPro)
Wellness Indicator: This humidity meter with humidity level icon indicates air conditions – DRY/COMFORT/WET, allowing this humidity sensor…
As an affiliate, we earn on qualifying purchases.
As an affiliate, we earn on qualifying purchases.
Best Places to Put Moisture Absorbers in Small, Confined Spaces
Placing moisture absorbers in corners helps them work more effectively, as these areas tend to trap humidity. Keep them near sources of moisture, like sinks or windows, to target problem spots directly. By positioning absorbers thoughtfully, you can reduce excess dampness in small, confined spaces quickly. Additionally, understanding humidity management can help optimize the placement of these absorbers for better results. Proper air circulation can further enhance their effectiveness by preventing moisture from settling in stagnant areas. Employing ventilation strategies can also facilitate better moisture control and improve overall humidity levels. Regularly monitoring humidity levels can ensure that absorbers are used most efficiently for optimal dehumidification, especially when combined with proper ventilation techniques.
Corner Placement Tips
In small, confined spaces, placing moisture absorbers in corners is one of the most effective strategies to combat humidity buildup. Corners tend to trap moisture, making them prime spots for moisture control. To maximize effectiveness, position your moisture absorbers where humidity sensors indicate higher moisture levels. This targeted placement helps address specific problem areas directly. Keep in mind that placing absorbers near corners allows for even distribution of moisture absorption, preventing damp spots from forming. Use moisture control tips like checking humidity sensors regularly to confirm placement is working. Avoid placing absorbers directly against walls or furniture, which can block airflow. Proper corner placement helps maintain a dry environment, reducing mold risk and protecting your belongings. Additionally, understanding how environmental factors such as humidity levels and airflow influence moisture buildup can encourage more confidence in your environment. Recognizing moisture patterns can further enhance your placement strategy for optimal moisture absorption. For optimal results, consider the ventilation system, which greatly impacts moisture distribution in small spaces.
Near Moisture Sources
Position your moisture absorbers close to sources of humidity, such as bathrooms, kitchens, or laundry areas, because these spots generate the most moisture. Proper moisture source identification helps you determine where to place your absorbers for maximum effectiveness. Focus on areas with poor ventilation or visible dampness. When considering dehumidifier placement, keep it near these moisture sources to enhance moisture removal. Placing absorbers nearby prevents excess humidity from spreading throughout the space. Avoid placing them far from the source, as moisture can still migrate and cause problems. Regularly monitor the area to see if the absorber needs repositioning. By targeting these high-humidity zones, you’ll efficiently reduce moisture buildup and prevent mold or mildew growth in small, confined spaces. Additionally, understanding the microplastics in dust can help you identify areas where airborne contaminants may accumulate, guiding better placement of moisture absorbers and air quality improvements. Proper placement of moisture absorbers is key to indoor air quality and maintaining a healthy indoor environment. To optimize effectiveness, consider the location of moisture sources and how it relates to the overall humidity levels within the space.

CLEVAST Moisture Absorbers Packets – 15.2 OZ, 6 Pack Large Dehumidifier Bags for Closet, Hanging Humidity Absorber in Wardrobes, Bedrooms, Bathrooms – Unscented
EFFECTIVE DEHUMIDIFICATION: The CLEVAST dehumidifier bags feature spherical calcium chloride particles that can attract and absorb excess moisture…
As an affiliate, we earn on qualifying purchases.
As an affiliate, we earn on qualifying purchases.
Where to Place Moisture Absorbers in Bathrooms and Laundry Rooms
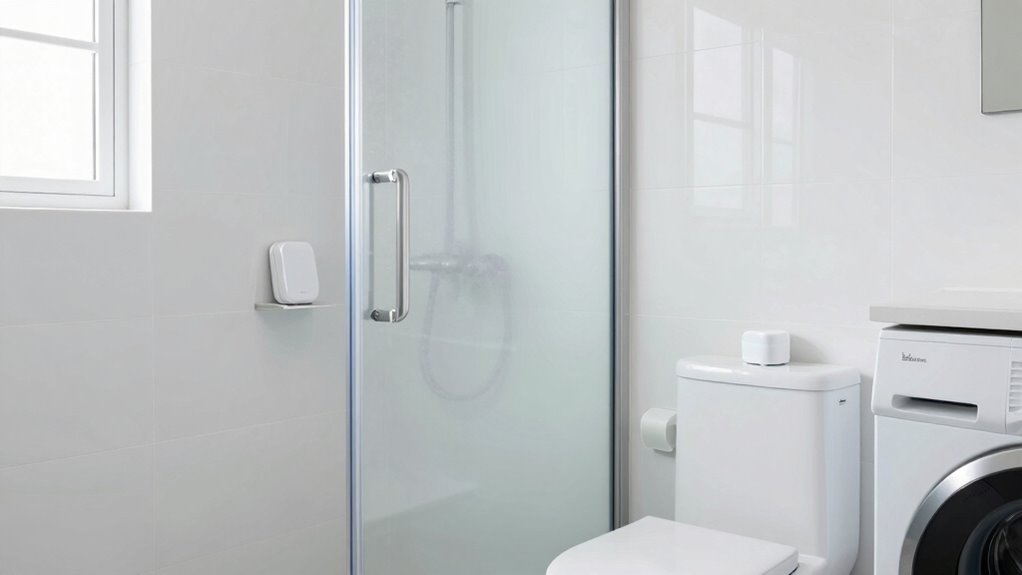
To maximize the effectiveness of moisture absorbers in bathrooms and laundry rooms, you should focus on placing them in areas with the highest humidity levels. Ideal spots include near showers, tubs, sinks, and washing machines, where moisture accumulates quickly. For better results, combine moisture absorbers with proper ventilation strategies, like exhaust fans or vents, to reduce overall humidity. You can also consider decorative placements that blend into your space, such as stylish containers on shelves or counters. Use this table to identify prime locations:
| Spot | Placement Tip |
|---|---|
| Near shower or tub | Place on shelves or wall-mounted holders |
| Close to washing machine | Keep on laundry room counters or cabinets |
| Bathroom corners | Position away from direct water contact |
This approach helps you target moisture hotspots effectively.
Optimal Spots for Moisture Absorbers in Basements and Crawl Spaces

Place moisture absorbers near the wettest walls to maximize their effectiveness. Keep them away from vents and airflow sources to prevent drying out too quickly. For the best results, position them in the center of the space where moisture tends to accumulate. Understanding time and space can help you better interpret and manage moisture patterns in your basement or crawl space.
Near Wettest Walls
Walls that remain damp or show signs of moisture are prime locations for placing moisture absorbers in basements and crawl spaces. These areas often have higher levels of artificial moisture from leaks or condensation, making them ideal spots for natural dehumidifiers. Placing moisture absorbers near wettest walls helps target excess humidity directly at its source, preventing mold and deterioration. Since damp walls can create persistent humidity, using moisture absorbers here supports the natural dehumidification process, reducing reliance on energy-consuming appliances. Confirm the absorbers are positioned close enough to absorb moisture effectively but not obstruct airflow. Regularly check and replace them to maintain excellent moisture control, especially in spots where moisture tends to gather the most. Proper placement enhances moisture control efficiency and helps prevent structural damage over time. Additionally, understanding humidity sources can assist in further optimizing placement strategies for long-term protection.
Away From Ventilation
Ever wondered why some spots in your basement or crawl space seem drier than others? Placing moisture absorbers away from ventilation sources prevents ventilation interference and airflow disruption. When absorbers are too close to vents or fans, they may be affected by airflow, reducing their effectiveness. Additionally, airflow can carry away moisture before the absorbers can trap it, limiting their drying power. To maximize their efficiency, position moisture absorbers in areas where airflow is minimal and ventilation isn’t directly influencing them. This way, they can absorb moisture steadily without interference. Avoid placing them near vents, exhaust fans, or air ducts. Instead, choose spots with stagnant air, allowing the absorbers to work uninterrupted and keep your space consistently drier.
Center of Space
Have you considered that the best spot for moisture absorbers might be the very center of your basement or crawl space? Placing them centrally helps evenly distribute moisture absorption, improving air quality throughout the space. Positioning in the middle also minimizes clutter, keeping the absorbers discreet and aesthetically pleasing. Use this guide to choose ideal spots:
| Location | Benefits | Aesthetic Placement |
|---|---|---|
| Middle of the room | Uniform moisture control | Hidden behind furniture |
| Near the support beams | Targets high humidity zones | Out of sight, out of mind |
| Central open area | Maximizes coverage | Keeps space looking neat |
| Floor level | Addresses ground moisture | Blends with flooring |
Placing moisture absorbers at the center boosts air quality and keeps your space looking clean.
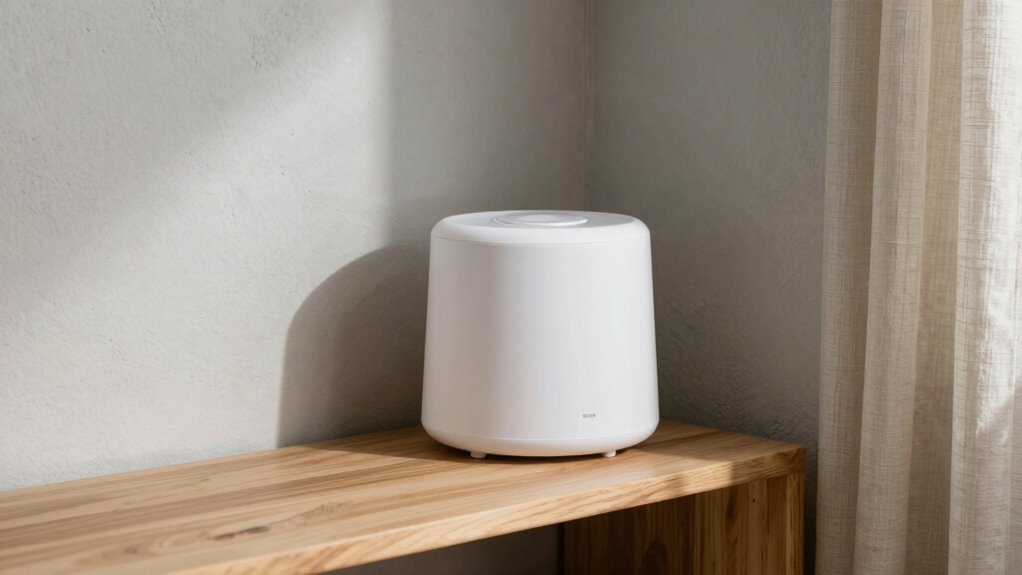
The Best Locations for Moisture Absorbers in Living Rooms and Bedrooms
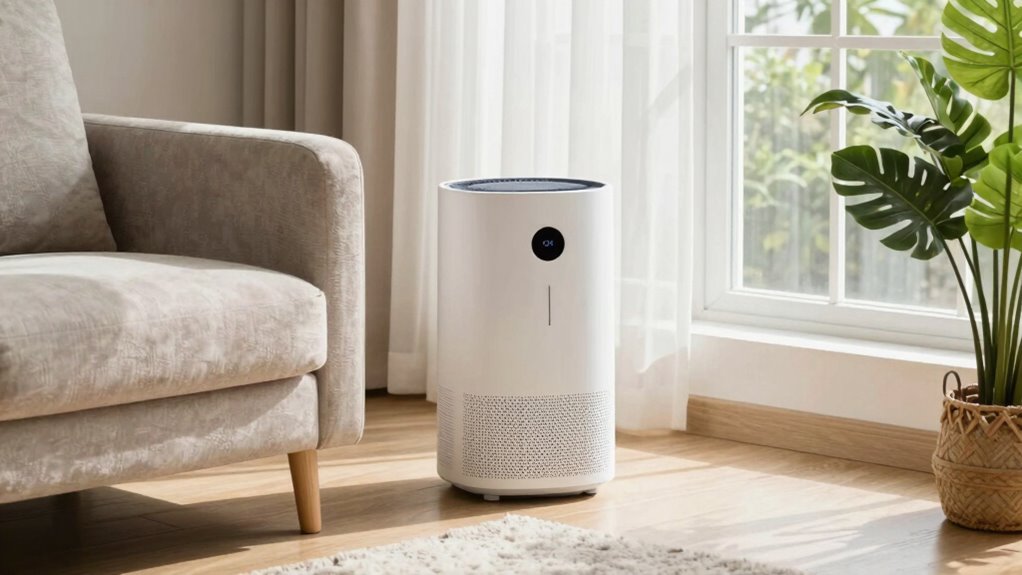
To maximize the effectiveness of moisture absorbers in your living rooms and bedrooms, it’s important to place them in strategic locations where humidity tends to accumulate. For best results, position them near windows, vents, or areas with poor airflow. Consider decorative options that blend well with your room’s aesthetic, such as stylish containers or discreet moisture absorber types like gel or silica gel packs. Avoid placing absorbers near heat sources, direct sunlight, or cluttered spots, as these can reduce their efficiency. Instead, choose open, accessible areas where moisture tends to linger, like corners or behind furniture. Proper placement ensures you get maximum moisture absorption while maintaining the room’s visual appeal.
Tips for Positioning Moisture Absorbers Near Common Mold-Prone Areas
Before placing moisture absorbers near mold-prone areas, you should monitor humidity levels to guarantee ideal placement. Keep in mind that hidden moisture sources, like behind furniture or under sinks, can contribute to mold growth. Addressing both visible and hidden moisture helps you improve the effectiveness of your moisture absorbers.
Humidity Levels Monitoring
Wondering where to place moisture absorbers for maximum effectiveness? Monitoring humidity levels helps you target mold-prone areas and improve air quality while boosting energy efficiency. To do this effectively:
- Use a hygrometer to identify high-humidity spots in your home.
- Place absorbers near bathrooms, kitchens, or laundry areas where moisture tends to accumulate.
- Position them in corners or behind furniture to maximize airflow and absorption.
- Regularly check humidity levels, aiming for 30-50%, to make sure your moisture control is effective.
Hidden Moisture Sources
Since mold often develops in hidden, moisture-rich areas, it’s important to position moisture absorbers near these common sources. Look for spots with potential leak detection issues, such as behind appliances, under sinks, or around pipes, where unnoticed leaks can cause persistent moisture. Additionally, placing absorbers in poorly ventilated areas like closets, basements, or behind furniture can help reduce hidden dampness. Improving ventilation is key—adding vents or fans can help dry out these spaces and prevent mold growth. Keep moisture absorbers close to these problem zones to maximize their effectiveness in absorbing excess humidity. Regularly check these locations for signs of moisture and leaks, and adjust your placement accordingly to stay ahead of mold development.
Where to Place Moisture Absorbers in Storage Areas and Attics
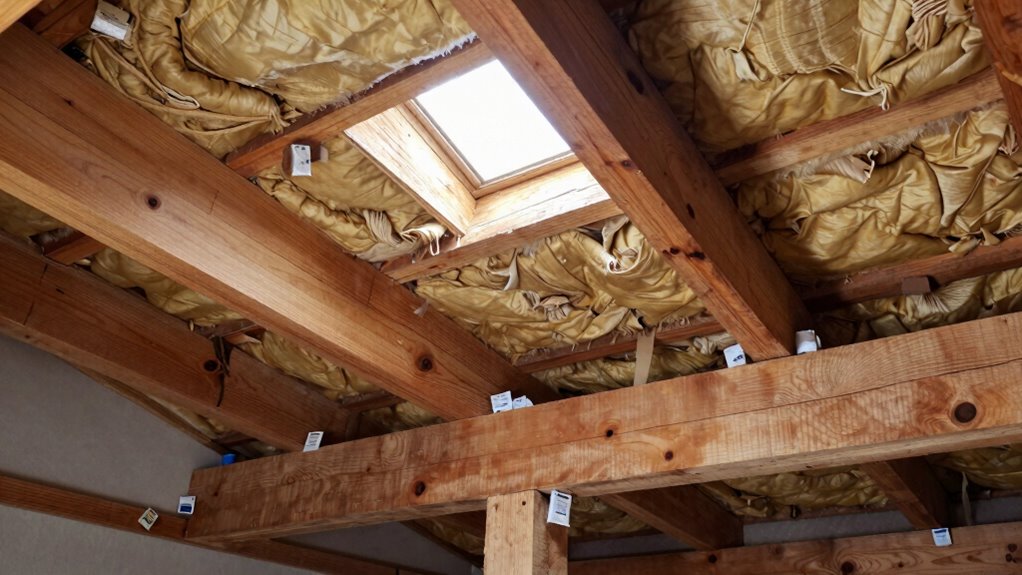
To effectively reduce moisture buildup, you should place moisture absorbers in areas where humidity tends to concentrate, such as corners, shelves, and near storage boxes. Proper placement helps improve air circulation and prevents damp spots that foster mold or damage. Position absorbers away from vents or openings to avoid uneven drying. Focus on spots where moisture collects naturally, like behind stored items or under eaves. Regularly check and replace absorbers to maintain effectiveness. Consider these key spots:
Place moisture absorbers in corners, shelves, and near storage to improve airflow and prevent dampness.
- Corners of storage rooms or attics
- Shelves holding seasonal items
- Near storage boxes prone to trapping humidity
- Along eaves or areas with poor air circulation
Strategic placement minimizes moisture buildup, protecting your belongings and maintaining a dry environment.
Common Mistakes to Avoid When Positioning Moisture Absorbers

One common mistake is placing moisture absorbers in areas with poor airflow or near vents, which can cause uneven drying and reduce their effectiveness. Poor ventilation issues can trap moisture, leading to increased moisture buildup around the absorber. When airflow is limited, moisture isn’t drawn away efficiently, allowing humidity levels to remain high. Avoid hiding absorbers behind furniture or in enclosed spaces where air circulation is minimal. Instead, position them in open, accessible areas that promote ventilation. Also, don’t place them too close to sources of constant moisture, like bathrooms or kitchens, as this can overwhelm the absorber’s capacity. Proper placement ensures consistent moisture removal, preventing moisture buildup and maintaining a healthier environment.
How to Strategically Place Moisture Absorbers for Long-Term Humidity Control
For long-term humidity control, strategic placement of moisture absorbers is essential to guarantee they operate efficiently over time. To maximize their effectiveness, consider these placement tips:
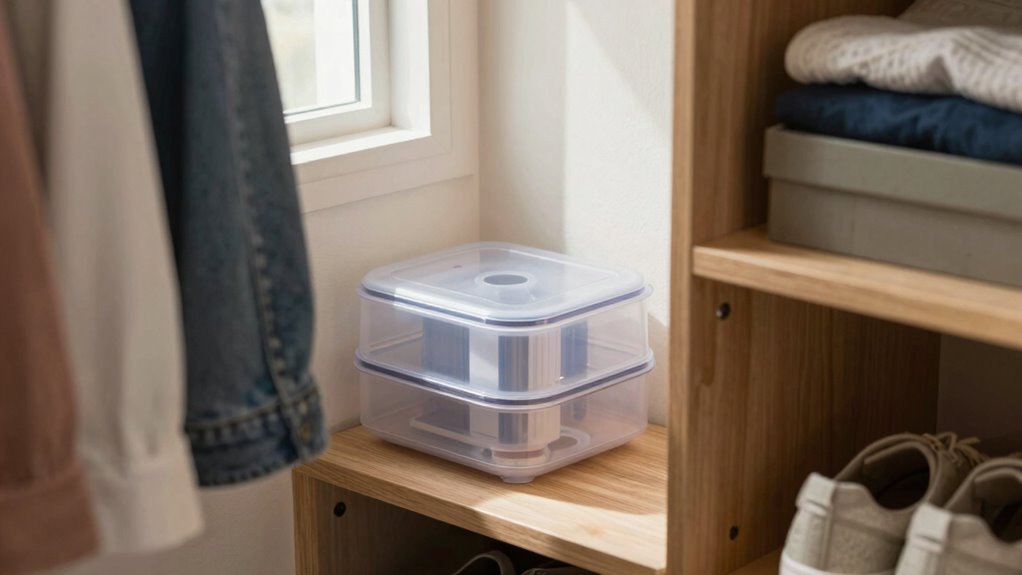
- Store moisture absorbers in airtight containers when not in use, preventing unnecessary exposure and extending their lifespan.
- Place them in areas prone to excess humidity, such as basements or bathrooms, for targeted moisture absorption.
- Use decorative placements in living spaces, like near potted plants or on shelves, to blend functionality with aesthetics.
- Avoid placing absorbers directly against walls or behind furniture, as airflow is vital for ideal moisture absorption.
Frequently Asked Questions
How Often Should I Replace Moisture Absorbers for Optimal Effectiveness?
You should replace moisture absorbers every 1 to 3 months for maximum effectiveness. Keep an eye on indicator signs like a full or saturated appearance, which shows they can’t absorb more moisture. Regular replacement ensures your space stays dry and mold-free. If you notice increased humidity or persistent dampness, consider replacing them sooner. Proper maintenance helps maintain a comfortable environment and prevents moisture-related issues.
Can Moisture Absorbers Be Used Outdoors or Only Indoors?
Think of moisture absorbers as guardians of your space, but they’re best suited indoors where they can truly shine. While outdoor placement might seem tempting, the elements can overwhelm them, reducing their effectiveness. They’re designed to boost indoor air quality by reducing humidity, so if you want maximum effect, keep them inside. Outside, they’re more vulnerable, losing their power to protect your home from excess moisture.
Are There Specific Types of Moisture Absorbers Better for Certain Environments?
Yes, certain moisture absorbers work better for specific environments. For example, silica gel is ideal indoors in closets or cabinets, as it effectively absorbs humidity without odor. Charcoal bags are better outdoors or in areas prone to odors, as they also neutralize smells. Choose the right type based on your environment to maximize moisture control; silica gel for dryness, charcoal for odor and moisture, ensuring your space stays fresh.
How Do I Know if a Moisture Absorber Has Reached Its Capacity?
Your moisture absorber is basically screaming for help when it’s full! To know if it’s reached its absorption capacity, look for indicator signs like no more change in weight or visible signs of saturation. If it feels heavy or the indicator beads are fully absorbed, it’s time to replace or recharge. Keep an eye out for these signs to make certain your space stays dry and mold-free.
Can Moisture Absorbers Prevent Future Humidity Problems Permanently?
Moisture absorbers can’t prevent future humidity problems permanently, but they considerably aid in humidity control and mold prevention. You should use them regularly in damp areas to keep moisture levels in check. For long-term solutions, consider improving ventilation and using dehumidifiers. Proper placement of absorbers in problem spots helps maintain a dry environment, reducing the risk of mold growth and ensuring a healthier, more comfortable space over time.
Conclusion
By placing moisture absorbers in the right spots, you can turn your home into an impenetrable fortress against mold, odors, and dampness. Forget about tiny efforts—this is your secret weapon to conquer humidity waves and keep your space fresh and dry forever. With strategic placement, you’ll create a fortress so dry, even the dampest ghosts of moisture won’t stand a chance. Take control now, and watch your home stay pristine for years to come!