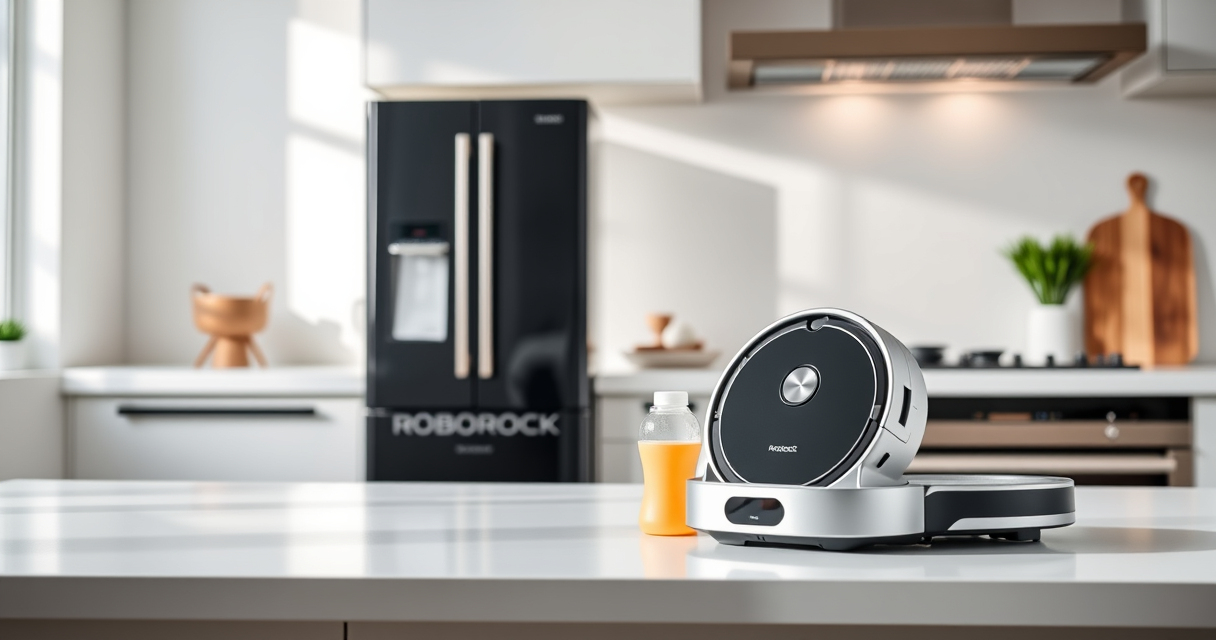
Getting your new Roborock Q7 M5+ ready for action is straightforward with the right setup process. This guide walks you through the essential steps to ensure your robot vacuum and mop operate safely and efficiently, giving you more time to enjoy a cleaner home.

Get home appliances delivered free with Prime
- Fast, free delivery on millions of items
- Prime Video, Amazon Music and more included
- Member-only deals all year
From unboxing to initial configuration, follow these clear instructions to maximize your device’s capabilities and maintain it properly over time.
Key Takeaways
| Easy Setup | Follow step-by-step instructions for quick setup. |
| Safe Operation | Ensure proper placement and connection for safe use. |
| Optimal Performance | Configure app settings and maintenance routines. |
| Maintenance Tips | Keep filters and mop pads clean for best results. |
Unbox and Prepare Your Roborock
- Carefully remove the Roborock Q7 M5+ from its packaging, ensuring all accessories are included: charging dock, power adapter, mop pads, filters, and brushes.
- Place the charging dock in an open, unobstructed area against a wall, ensuring at least 1.5 meters on each side and 2 meters in front for easy docking.
- Connect the dock to power and turn it on. Allow it to charge for at least 10 minutes before initial setup.
Download and Connect the Roborock App
- Download the Roborock app from your device’s app store (available for iOS and Android).
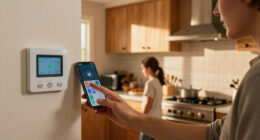
- Create or log into your account, then follow in-app instructions to connect to your Wi-Fi network.
- Ensure your robot is powered on and close enough to your Wi-Fi router during initial pairing.
Set Up and Configure Your Roborock
- Follow the app prompts to add a new device, selecting ‘Roborock Q7 M5+’ from the list.
- Place the robot on the charging dock and wait for it to connect successfully.
- Configure cleaning preferences, including suction power, mop mode, and no-go zones, as needed.
Load and Maintain Components Properly
- Insert the 2.7L sealed dust bag for self-emptying, ensuring it’s securely in place.
- Attach the washable mop pads, washing and replacing them every 1-3 months for optimal mopping performance.
- Install filters such as the washable HEPA filter for clean air exhaust and improved filtration.
Test Run and Troubleshoot
- Start a test cleaning cycle via the app to ensure the robot navigates properly and cleans effectively.
- Check for obstacles or issues during the first run, and adjust no-go zones or cleaning settings accordingly.
- If connectivity issues occur, restart your Wi-Fi router and re-pair the device through the app.
The Products in This Guide

roborock Q7 M5+ Robot Vacuum and Mop
- ✔ Weight: 7.5 kg
- ✔ Dimensions: 35 x 35 x 9 cm
- ✔ Charging Time: 4 hours

4 Pack Washable Filter
- ✔ Material: HEPA
- ✔ Pack Size: 4 filters
- ✔ Washable: Yes
roborock Q7 M5+ Robot Vacuum and Mop
The Roborock Q7 M5+ offers powerful suction, a self-emptying dust bag, and advanced navigation, making it ideal for pet hair and deep cleaning tasks. Its app control simplifies routine maintenance and scheduling.
Pros:
- Up to 9 Weeks Self-Emptying
- 10000Pa Suction Power
- Dual Anti-Tangle System
- PreciseLiDAR Navigation
Cons:
- Requires initial Wi-Fi setup
- May need periodic filter replacements
- Mop pads sold separately
Best for: Pet owners and homes requiring deep, frequent cleaning
Not ideal for: Users seeking a budget-friendly model or basic vacuuming
Bottom line: A high-performance robot vacuum perfect for pet hair and deep cleaning needs.
4 Pack Washable Filter
These washable HEPA filters are compatible with the Roborock Q7 and other models, providing effective filtration and easy maintenance for your device.
Pros:
- Reusable and washable
- Maintains high filtration performance
- Easy to install
- Cost-effective over time
Cons:
- Requires regular cleaning
- Not OEM but compatible
- Limited to specific models
Best for: Users wanting to improve air quality and filter lifespan
Not ideal for: Those preferring OEM parts or with non-compatible models
Bottom line: A reliable washable filter to keep your vacuum performing at its best.
Frequently Asked Questions
How do I reset my Roborock Q7 M5+ if it gets stuck?
Press and hold the power button for about 3 seconds until the robot powers off, then restart it. Also, check for any obstacles or tangled hair around the brushes.
Can I use the robot without the self-emptying dock?
Yes, you can operate the robot manually or with the app without the dock. However, for automatic emptying, the dock must be connected and properly set up.
How often should I replace the mop pads?
It’s recommended to replace or wash the mop pads every 1 to 3 months, depending on usage and floor conditions.
How do I update the firmware?
Ensure your robot is connected to the app, then check for firmware updates within the app settings. Follow prompts to install any available updates.
Start Your Cleaning Journey with Confidence
Following these steps ensures your Roborock Q7 M5+ is set up correctly for optimal performance. Regular maintenance and app configuration will keep your home spotless and extend your device’s lifespan. Enjoy effortless cleaning with your new robotic helper!
Affiliate disclosure: As an Amazon Associate we earn from qualifying purchases. Prices and availability are accurate as of the time of publishing.
Fall yard work Picks
leaf blowers
As an affiliate, we earn on qualifying purchases.